Whether you’re refreshing a single room or repainting your entire home, residential painting is one of the most impactful ways to transform your living space. A fresh coat of paint can breathe new life into tired walls, protect your home from the elements, and significantly increase your property’s value. This comprehensive guide covers everything from proper preparation and paint selection to professional techniques and maintenance strategies that ensure lasting results.
Essential Preparation Steps for a Flawless Finish
Proper preparation is the foundation of any successful residential painting project. Skipping these crucial steps often leads to poor adhesion, uneven coverage, and premature peeling. Professional painters spend nearly 60% of their time on preparation because they understand its importance to the final result.
Wall Repair and Surface Preparation
Before applying any paint, you need to ensure your surfaces are clean, smooth, and ready to accept the new coating. This process varies slightly between interior and exterior projects but follows the same fundamental principles.
Interior Surface Preparation
- Remove all furniture or cover with drop cloths
- Clean walls with mild detergent to remove dirt and grease
- Fill holes and cracks with spackling compound
- Repair larger damage with drywall patches
- Sand repaired areas until smooth and flush with the wall
- Wipe down surfaces to remove dust
- Apply painter’s tape to trim, outlets, and switches
Exterior Surface Preparation
- Pressure wash siding to remove dirt and loose paint
- Scrape away peeling or flaking paint
- Sand rough areas to create a smooth surface
- Replace rotted wood or damaged siding
- Caulk gaps around windows, doors, and trim
- Repair stucco cracks or brick mortar as needed
- Cover plants, walkways, and outdoor furniture
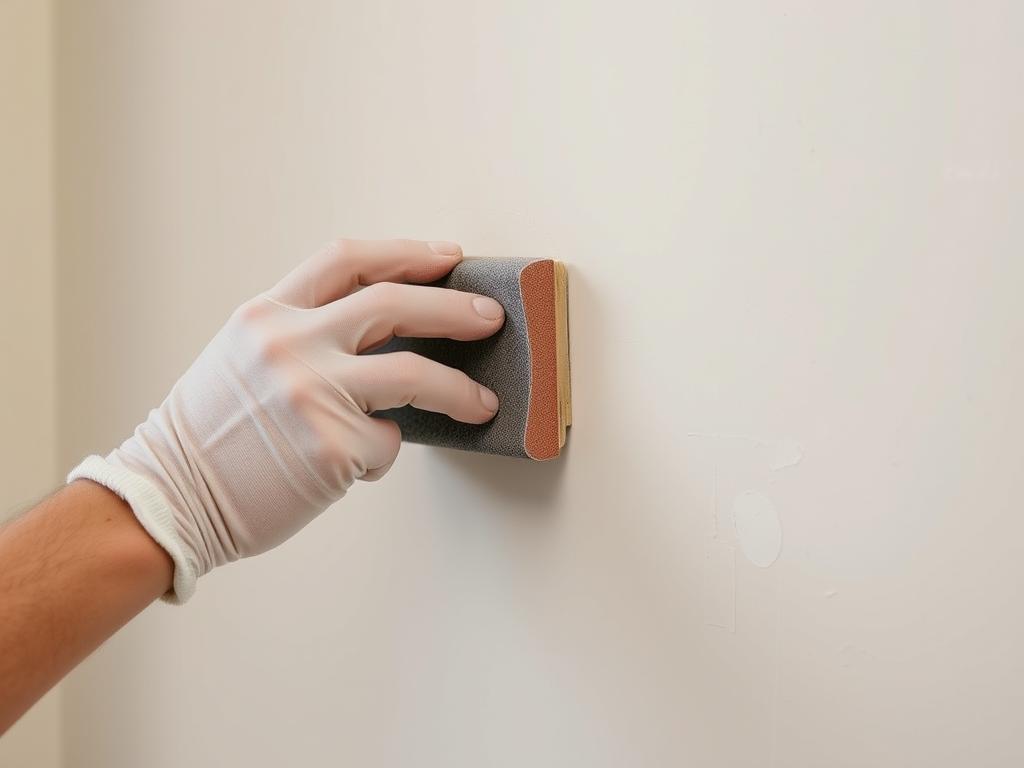
The Critical Role of Sanding
Sanding creates a slightly rough texture that helps paint adhere properly to the surface. For previously painted walls, light sanding with 120-150 grit sandpaper removes imperfections and dulls glossy finishes. For new drywall, start with 100-120 grit sandpaper for joint compound, then finish with 150-180 grit for a smooth result.
Priming: The Foundation of Quality Painting
Primer creates the ideal foundation for your topcoat by sealing porous surfaces, blocking stains, and promoting adhesion. While some modern paints include primer, dedicated primers often provide superior results for specific situations.
| Surface Type | Recommended Primer | Benefits |
| New Drywall | PVA (Polyvinyl Acetate) Primer | Seals porous surface, creates uniform base |
| Previously Painted Walls | Latex Primer (if changing colors dramatically) | Covers old color, ensures true topcoat color |
| Stained Surfaces | Stain-Blocking Primer | Prevents bleed-through of water stains, smoke damage |
| Wood | Oil-Based or Shellac Primer | Seals wood tannins, prevents grain raising |
| Metal | Rust-Inhibitive Primer | Prevents oxidation, promotes adhesion |
Need Help With Preparation?
Our professional team can handle all the tedious prep work for you, ensuring your painting project starts with the perfect foundation.
Paint Selection: Choosing the Right Products for Your Project
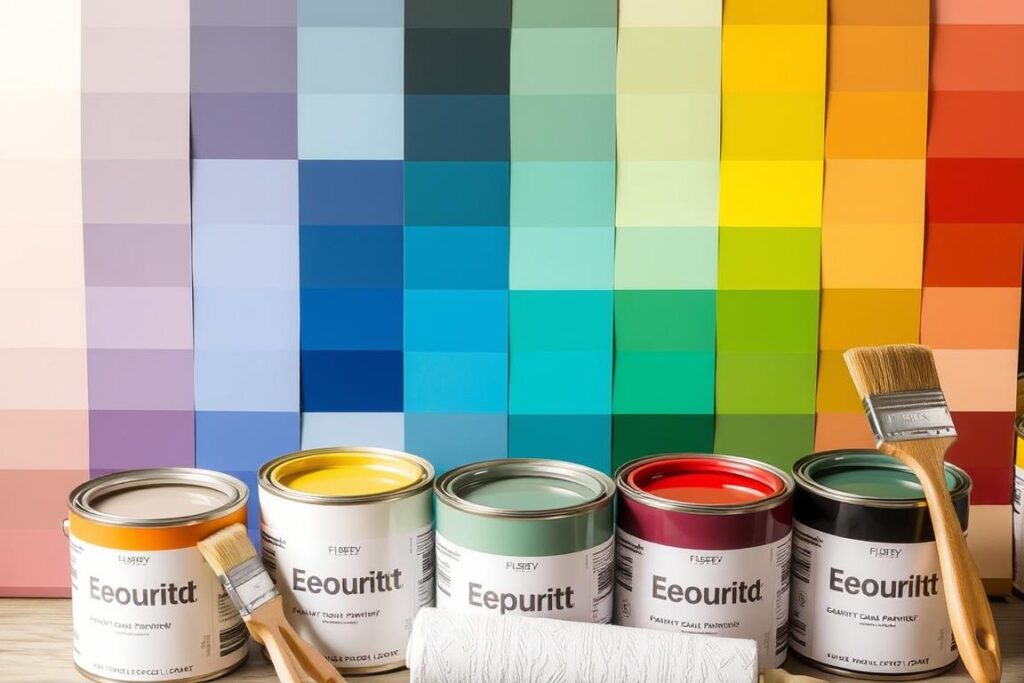
Selecting the right paint involves more than just picking a color. The finish, quality, and formulation all play crucial roles in both the appearance and longevity of your residential painting project.
Understanding Paint Finishes
The finish (or sheen) of your paint affects both its appearance and functionality. Different areas of your home benefit from specific finishes based on their use and exposure to moisture, dirt, and wear.
| Finish | Appearance | Durability | Best Used For |
| Flat/Matte | No shine, absorbs light | Low | Ceilings, low-traffic areas, hiding imperfections |
| Eggshell | Subtle glow, like an eggshell | Medium | Living rooms, bedrooms, dining rooms |
| Satin | Soft, velvety sheen | Medium-High | Family rooms, hallways, children’s bedrooms |
| Semi-Gloss | Noticeable shine | High | Kitchens, bathrooms, trim, doors |
| Gloss | Highly reflective | Very High | Trim, doors, cabinets, high-moisture areas |
Eco-Friendly Paint Options
With growing environmental and health concerns, many homeowners are turning to eco-friendly paint options. These products reduce harmful emissions and create healthier indoor environments, especially important for families with children, pets, or respiratory sensitivities.
Low and Zero VOC Paints
Volatile Organic Compounds (VOCs) are chemicals that evaporate at room temperature and can cause health issues. Low-VOC paints contain less than 50 grams per liter, while zero-VOC options have less than 5 grams per liter. These paints minimize indoor air pollution and reduce that “fresh paint smell” that actually indicates harmful emissions.
Natural and Mineral-Based Paints
Made from natural ingredients like clay, milk protein, plant oils, and mineral pigments, these paints are biodegradable and contain minimal synthetic chemicals. While sometimes more expensive, they offer excellent breathability for walls and are ideal for historic homes or those with moisture management concerns.
Color Psychology for Room Selection
Colors significantly impact our mood, perception of space, and even physical responses. Understanding color psychology can help you create environments that support each room’s intended purpose.
Bedrooms
Best colors: Blues, lavenders, soft greens
Effect: Promotes relaxation, reduces heart rate and blood pressure, improves sleep quality
Avoid: Bright reds, oranges, and yellows that can stimulate energy
Living Areas
Best colors: Warm neutrals, soft yellows, gentle greens
Effect: Encourages conversation, creates welcoming atmosphere, versatile for changing decor
Avoid: Very dark colors that can make spaces feel smaller
Home Offices
Best colors: Blues, greens, balanced neutrals
Effect: Improves focus and productivity, reduces eye strain, promotes calm decision-making
Avoid: Distracting bright colors or overly calming deep tones
Not Sure Which Paint Is Right For Your Project?
Our color consultants can help you select the perfect paint type, finish, and color for every room in your home.
Professional Painting Techniques for Superior Results
The difference between an amateur and professional residential painting job often comes down to technique. These professional methods ensure smooth, even coverage and crisp lines that transform your space.
Mastering the Cutting-In Technique
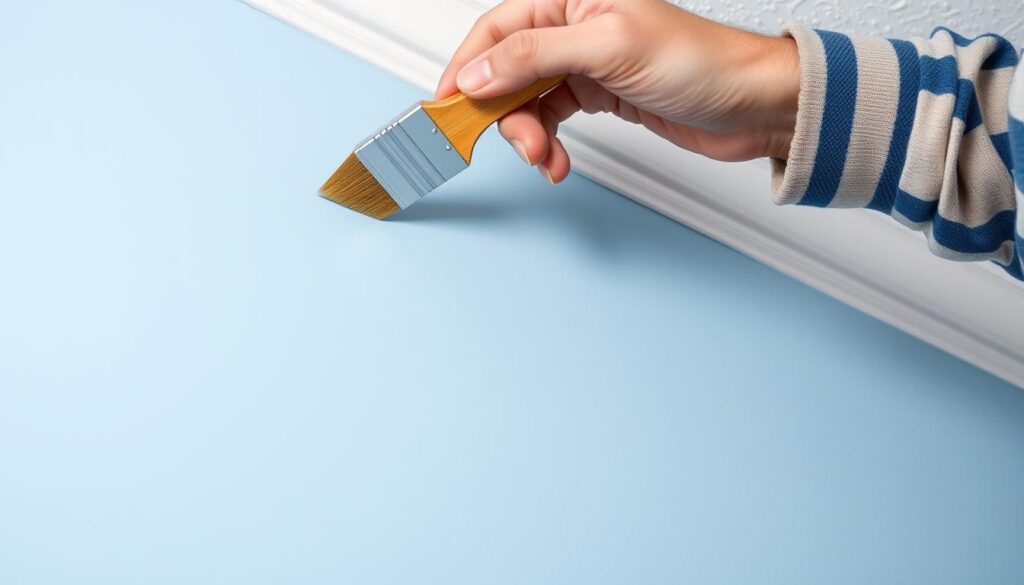
Cutting-in is the process of painting a clean line where two surfaces meet, such as where walls meet ceilings or trim. This technique requires a steady hand but delivers superior results compared to relying solely on painter’s tape.
Step-by-Step Cutting-In Process:
- Select a high-quality 2-2.5 inch angled sash brush
- Load the brush properly (about 1/3 of bristle length)
- Start about 1/2 inch away from the edge
- Drag the paint toward the edge with steady pressure
- Use the pointed tip of the angled brush for precision
- Work in sections of 2-3 feet for best control
Pro Tips for Perfect Cutting-In:
- Hold the brush like a pencil for maximum control
- Position yourself comfortably to maintain a steady hand
- Use your other hand to stabilize yourself against the wall
- Maintain a wet edge by working quickly but carefully
- For ceilings, cut in just slightly onto the ceiling (1-2mm) for a crisp appearance from below
Roller Techniques for Smooth, Even Coverage
Proper roller technique eliminates lap marks, streaks, and texture inconsistencies. The key is maintaining a wet edge and using the right roller nap length for your surface texture.
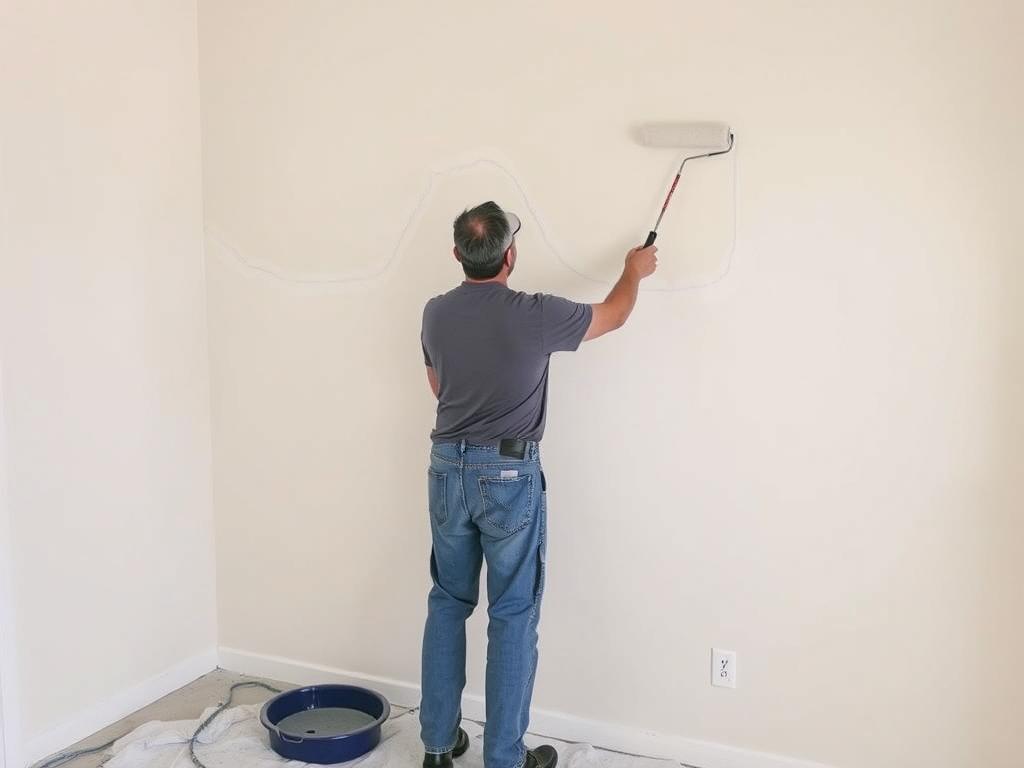
The “W” Method for Perfect Walls
The W-method (sometimes called the M-method) ensures even distribution and helps maintain a wet edge throughout the painting process:
- Load the roller evenly but not excessively
- Begin in the upper corner of a 3×3 foot section
- Roll a 3-foot W or M pattern without lifting the roller
- Fill in the pattern with horizontal strokes, working from top to bottom
- Apply light, even pressure throughout
- Slightly overlap with the previous section while it’s still wet
- Continue this pattern across the entire wall
| Surface Type | Recommended Roller Nap | Reason |
| Smooth walls, ceilings | 3/8 inch | Provides smooth finish without excessive texture |
| Lightly textured surfaces | 1/2 inch | Reaches into slight texture while maintaining smooth appearance |
| Medium texture (orange peel) | 3/4 inch | Provides adequate coverage of textured surfaces |
| Heavy texture (stucco, brick) | 1 inch or more | Reaches deep into texture for complete coverage |
Two-Coat Application Strategy
Most professional residential painting projects require two coats for optimal coverage, color accuracy, and durability. The proper approach to two-coat application makes a significant difference in the final result.
First Coat Technique:
- Focus on even coverage rather than perfect appearance
- Apply slightly thicker than the second coat
- Allow complete drying according to manufacturer’s instructions
- Inspect for missed spots or thin areas
Second Coat Technique:
- Apply in the same pattern as the first coat
- Use slightly lighter pressure for a smooth finish
- Pay special attention to edges and corners
- Maintain consistent roller speed for uniform texture
Want Professional-Quality Results Without the Effort?
Our experienced painting teams use proven techniques to deliver flawless finishes on every project.
Residential Painting Cost Breakdown: What to Expect
Understanding the factors that influence painting costs helps you budget effectively and evaluate quotes from professional services. Costs vary significantly based on project scope, surface conditions, paint quality, and your location.

Average Cost Factors for Residential Painting
| Project Type | Average Cost Range (per sq ft) | Factors Affecting Cost |
| Interior Walls | $2.00 – $6.00 | Wall height, repairs needed, furniture moving, trim work |
| Exterior Siding | $1.50 – $4.00 | Surface material, condition, accessibility, prep work |
| Trim & Doors | $3.00 – $8.00 | Detail level, current condition, paint type |
| Ceilings | $1.50 – $3.50 | Height, texture, repairs, accessibility |
| Cabinets | $3.00 – $10.00 | Number of doors/drawers, prep work, finish type |
Labor vs. Materials Cost Breakdown
Understanding how costs are typically distributed helps you evaluate quotes and make informed decisions about where to invest for the best value.
Labor Costs (60-80% of total)
- Surface preparation (15-25%)
- Priming (5-10%)
- Painting application (30-40%)
- Detail work and trim (10-15%)
- Cleanup (5%)
Labor costs reflect the time-intensive nature of quality painting. Professional painters typically charge $25-$100 per hour depending on experience, location, and project complexity.
Material Costs (20-40% of total)
- Paint (10-20%)
- Primer (3-5%)
- Supplies (brushes, rollers, tape) (3-5%)
- Surface repair materials (2-5%)
- Protective materials (drop cloths, plastic) (2-5%)
Paint quality significantly impacts material costs. Premium paints ($50-$100+ per gallon) offer better coverage, durability, and appearance than budget options ($20-$30 per gallon).
Additional Cost Considerations
Several factors can increase the overall cost of your residential painting project beyond the basic square footage calculations:
Structural Factors
- High ceilings (add 20-40%)
- Extensive trim work (add 15-25%)
- Multiple colors/accent walls (add 15-20%)
- Textured surfaces (add 10-25%)
- Difficult access points (add 10-30%)
Condition Factors
- Major surface repairs (add 20-100%)
- Lead paint remediation (add 50-100%)
- Mold/mildew treatment (add 15-30%)
- Stain blocking (add 10-20%)
- Color changes requiring extra coats (add 15-30%)
Logistical Factors
- Furniture moving/storage (add 5-15%)
- Rush jobs (add 10-25%)
- After-hours work (add 15-30%)
- Occupied homes vs. vacant (add 5-15%)
- Remote location (add 5-20%)
Get an Accurate Cost Estimate for Your Project
Our detailed quotes break down all costs so you know exactly what you’re paying for. No surprises, no hidden fees.
DIY vs. Professional Residential Painting: Making the Right Choice
Deciding whether to tackle your painting project yourself or hire professionals depends on several factors including your skill level, available time, project complexity, and budget considerations.
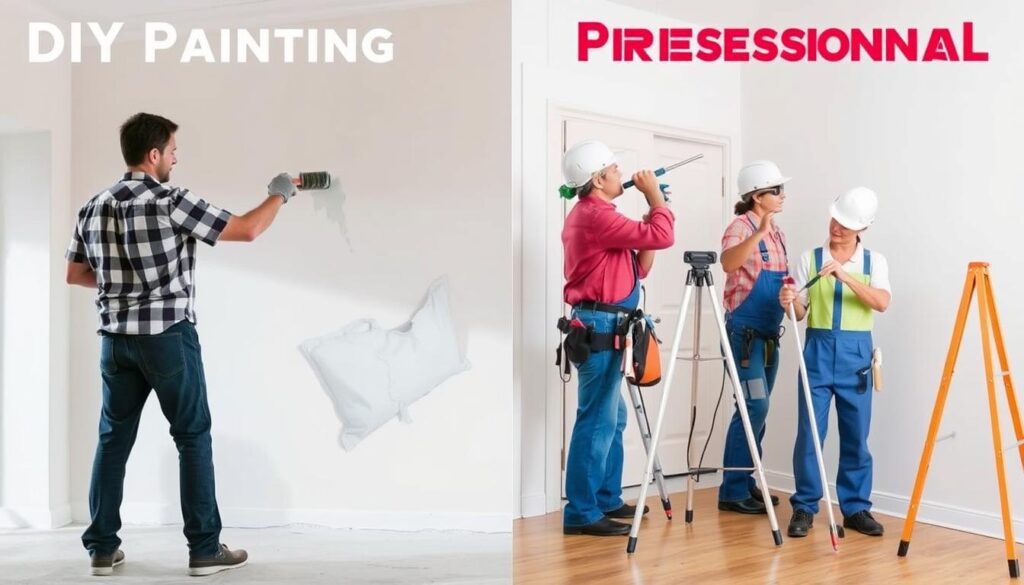
DIY Painting Advantages
- Cost savings on labor (typically 60-80% of project cost)
- Complete control over timeline and process
- Personal satisfaction of completing the project
- No strangers in your home
- Ability to take your time and work at your own pace
- No need to research and vet contractors
DIY Painting Challenges
- Time-consuming (especially for inexperienced painters)
- Learning curve for proper techniques
- Upfront investment in quality tools and materials
- Physical demands (climbing, reaching, repetitive motion)
- Potential for costly mistakes requiring professional correction
- Typically lower-quality finish than professional work
When to Choose Professional Residential Painting Services
Professional painters bring expertise, efficiency, and specialized equipment that can make a significant difference in certain situations.
Project Complexity
Consider professionals for:
- High ceilings or multi-story exteriors
- Extensive surface preparation needs
- Historic homes with special requirements
- Decorative finishes or techniques
- Lead paint remediation (legally required)
Time Constraints
Professionals are worth it when:
- You need the project completed quickly
- You’re preparing to sell your home
- You have limited free time for DIY work
- You need to minimize disruption to daily life
- You have strict deadlines (events, move-in dates)
Quality Requirements
Invest in professionals when:
- Perfect finish is important to you
- You’re painting high-visibility areas
- You want maximum durability
- You’re using premium materials
- Previous DIY attempts were unsatisfactory
What to Expect from Quality Professional Painters
When hiring professional residential painting services, look for these quality indicators that separate exceptional contractors from average ones:
Before the Project
- Detailed written estimate with clear scope of work
- Proof of insurance and necessary licenses
- References and portfolio of similar projects
- Clear communication about timeline and process
- Professional color consultation services
- Samples or test patches if requested
During and After the Project
- Thorough protection of non-painted surfaces
- Proper surface preparation (no shortcuts)
- Regular progress updates
- Meticulous cleanup after completion
- Final walkthrough inspection
- Written warranty on labor and materials
Ready to Hire Professionals for Your Painting Project?
Our experienced team delivers exceptional results with minimal disruption to your daily life.
Maintenance and Touch-Up Strategies for Lasting Results
Proper maintenance extends the life of your residential painting project and keeps your home looking fresh between major repainting cycles. With the right approach, you can address minor issues before they require complete repainting.
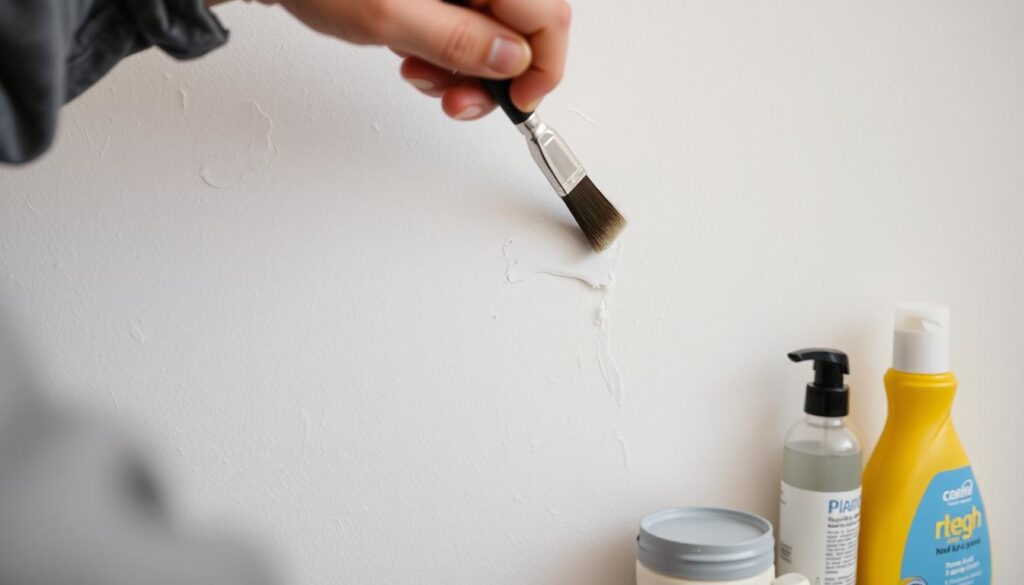
Routine Cleaning and Maintenance Schedule
Regular cleaning prevents dirt buildup that can damage paint and make touch-ups more difficult. Adapt your cleaning approach based on the paint finish and location.
| Surface Type | Cleaning Frequency | Recommended Method |
| Flat/Matte Walls | Every 6-12 months | Dust with microfiber cloth; spot clean with very mild soap solution and soft sponge |
| Eggshell/Satin Walls | Every 3-6 months | Wipe with damp microfiber cloth; clean with mild soap solution |
| Semi-Gloss/Gloss Surfaces | Every 1-3 months | Wipe with damp cloth; clean with mild detergent solution |
| Exterior Painted Surfaces | Annually | Gentle pressure washing or hose with soft brush; check for damage |
| High-Traffic Areas | Monthly | Spot clean as needed with appropriate cleaner for finish type |
Effective Touch-Up Techniques
Even with careful maintenance, walls will eventually need touch-ups to address scuffs, scratches, and other damage. The key to invisible touch-ups is matching both the paint and the application technique.
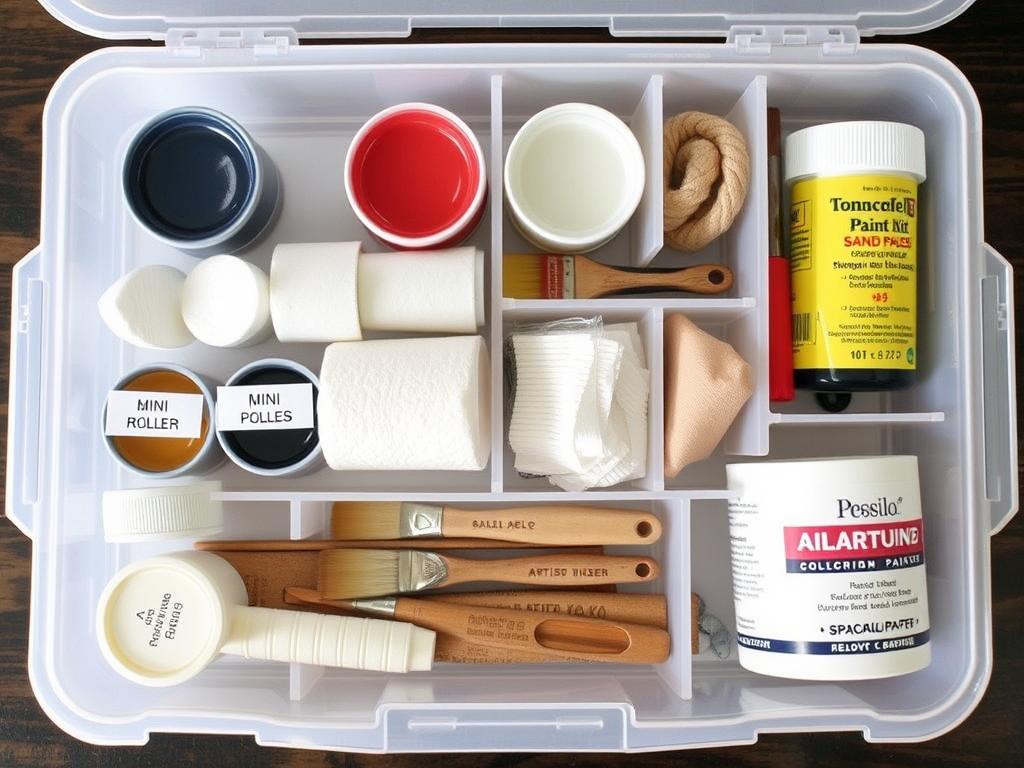
Essential Touch-Up Supplies
- Original paint (stored properly in airtight container)
- Small artist brushes for tiny areas
- Mini rollers that match original texture
- Fine sandpaper (220+ grit)
- Spackling compound for minor holes
- Cleaning supplies appropriate for finish
Touch-Up Process
- Clean the area thoroughly and let dry completely
- Sand lightly if surface is rough or damaged
- Apply spackling if needed and sand smooth
- Stir (don’t shake) touch-up paint thoroughly
- Apply thin coat with appropriate tool
- Feather edges to blend with surrounding area
- Allow to dry and apply second coat if needed
Seasonal Painting Recommendations
Weather conditions significantly impact painting results. Planning your residential painting projects according to seasonal considerations helps ensure optimal application and longevity.
Spring
Ideal for: Interior projects, exterior preparation
Benefits: Moderate temperatures, good ventilation opportunities
Challenges: Higher humidity, pollen (for exterior)
Tips: Schedule on low-pollen days, use dehumidifiers indoors if needed
Summer
Ideal for: Exterior painting (early summer)
Benefits: Quick drying times, extended daylight
Challenges: Extreme heat, direct sunlight, summer storms
Tips: Paint early morning or evening, follow shade around house
Fall
Ideal for: Exterior projects, pre-holiday interior refreshes
Benefits: Stable temperatures, lower humidity
Challenges: Shorter daylight hours, falling leaves
Tips: Start early in the day, clear debris before starting
Winter
Ideal for: Interior projects
Benefits: Contractor availability, potential off-season discounts
Challenges: Poor ventilation, longer drying times
Tips: Use low-VOC paints, ensure adequate ventilation
Need Help Maintaining Your Painted Surfaces?
Our maintenance programs keep your home looking fresh year-round with professional cleaning and touch-up services.
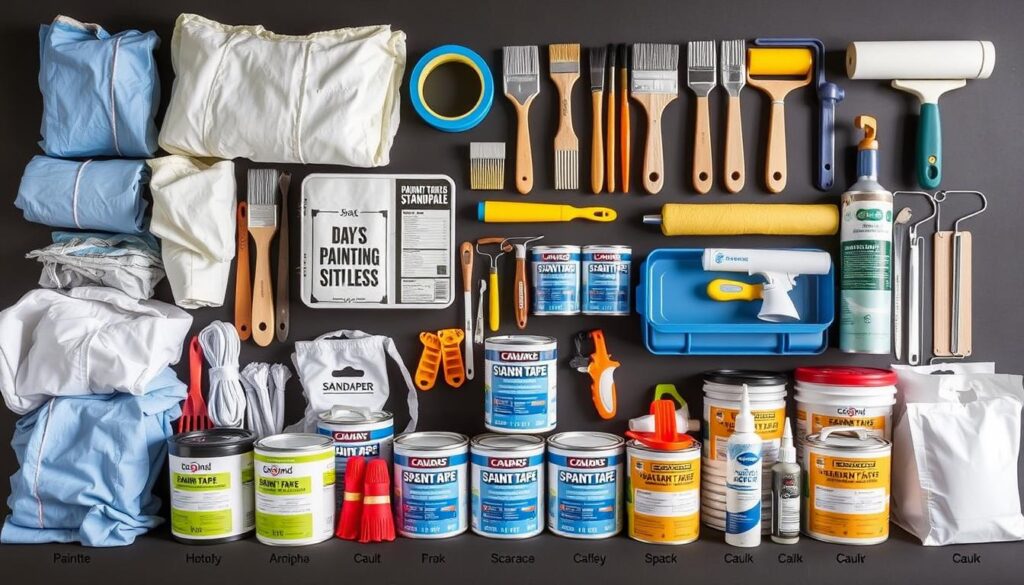
Essential Residential Painting Supplies Checklist
Having the right tools and materials ready before you start ensures a smoother painting process and professional-quality results. Use this comprehensive checklist to prepare for your next project.
Preparation Supplies
- Drop cloths (canvas for floors, plastic for furniture)
- Painter’s tape (different widths)
- Spackling compound and putty knife
- Sandpaper (various grits: 100, 150, 220)
- Sanding block or pole sander
- Caulk and caulking gun
- Screwdrivers (to remove fixtures, plates)
- Cleaning supplies (TSP or alternative)
- Plastic sheeting for larger protection
- Primer appropriate for your surface
Application Tools
- Paint brushes (angled 2-2.5″ for cutting in)
- Paint brushes (various sizes for different areas)
- Roller frames (9″ standard, mini for small areas)
- Roller covers (appropriate nap for surface)
- Extension pole for rollers
- Paint trays and liners
- Paint grid for buckets
- Bucket for larger projects
- Stir sticks
- Paint can opener
Safety & Cleanup
- Safety glasses
- Dust masks or respirators
- Gloves (latex or nitrile)
- Hat or head covering
- Ladder or step stool
- Paint clothes or coveralls
- Rags or paper towels
- Soap and water for latex cleanup
- Paint thinner for oil-based cleanup
- Storage containers for leftover paint
Frequently Asked Questions About Residential Painting
Get answers to the most common questions about residential painting projects, including troubleshooting advice for common issues.
How long should interior paint last before needing repainting?
Quality interior paint typically lasts 5-10 years depending on the room, paint quality, and environmental factors. High-traffic areas like hallways and kitchens may need repainting every 3-5 years, while bedrooms and formal living areas can often go 7-10 years. Using premium paints and proper preparation significantly extends longevity.
What are the most common DIY painting mistakes and how can I avoid them?
The most common DIY painting mistakes include:
- Inadequate preparation: Always clean, repair, and prime surfaces properly
- Skipping primer: Use primer especially when changing colors or painting new surfaces
- Using low-quality tools: Invest in good brushes and rollers for better results
- Applying too much paint: Multiple thin coats are better than one thick coat
- Painting in poor lighting: Ensure adequate lighting to spot missed areas and drips
- Removing tape too late: Remove painter’s tape while paint is still slightly wet
How do I calculate how much paint I need for my project?
To calculate paint needs:
- Measure the perimeter of the room (length of all walls)
- Multiply by the ceiling height to get square footage
- Subtract 20 sq ft for each standard door and 15 sq ft for each window
- Divide the total by the coverage on the paint can (typically 350-400 sq ft per gallon)
- Add 10-15% extra for touch-ups and potential waste
For example, a 12′ x 12′ room with 8′ ceilings, one door and two windows would need approximately one gallon of paint for two coats.
How can I fix common paint problems like bubbling, cracking, or peeling?
Bubbling: Usually caused by painting over a damp or dirty surface. Scrape off bubbled areas, sand smooth, clean thoroughly, allow to dry completely, prime, and repaint.
Cracking: Often results from applying paint too thickly or in extreme temperatures. Remove loose paint, sand edges smooth, prime bare areas, and apply thin coats of paint.
Peeling: Typically indicates poor adhesion due to moisture or inadequate preparation. Scrape all loose paint, sand the edges, address any moisture issues, prime bare areas, and repaint.
Is it necessary to wash walls before painting?
Yes, washing walls before painting is essential for proper adhesion and a smooth finish. Dust, grease, and other contaminants prevent paint from bonding correctly. For most interior walls, a solution of mild dish soap and water works well. For kitchens or high-grease areas, use a degreasing cleaner or TSP substitute. Always rinse thoroughly and allow walls to dry completely before painting.
Transform Your Home with Professional Residential Painting
Whether you choose to DIY or hire professionals, a well-executed residential painting project can dramatically transform your living space. By understanding proper preparation, selecting the right materials, using professional techniques, and maintaining your painted surfaces, you’ll achieve beautiful, long-lasting results that enhance your home’s beauty and value.
Remember that quality painting is an investment in your property. While cutting corners might save money initially, it often leads to premature failure and the need for costly repainting. Taking the time to do it right—or hiring experienced professionals—pays dividends in durability, appearance, and satisfaction.
Ready to Transform Your Home with Professional Painting?
Our expert team delivers exceptional results, from meticulous preparation to flawless finishing. Contact us today for a free, no-obligation consultation and quote.
