How to Paint a Room the Right Way — What the Pros Actually Do
People watch a 5-minute YouTube video and think painting a room is basically just rolling paint on a wall. And the rolling part — yeah, that's not complicated. But the steps before and after the rolling are what determine whether the job looks good in a week or starts showing problems by the time the paint fully cures. Here's what we actually do on every room, in order.
Before the Paint: Sand, Clean, Patch, Prime
The first thing we do is look at the wall surface. On a previously painted wall, we're looking for nail holes, cracks, scuffs, and any area where the existing paint is peeling or bubbling. Every nail hole gets filled. Every crack gets filled and feathered smooth. Bubbling paint gets scraped back and the underlying cause gets addressed before we paint over it.
Then a light scuff-sand on the walls. Not heavy sanding — just a 150-grit pass to knock down any texture ridges, smooth out old brush marks, and give the new paint something to grip. This step is skipped on almost every DIY job. And you can see it in the finish — new paint applied over a glossy, unsanded surface doesn't stick as well and starts to flake at edges faster.
After sanding, we wipe down or vacuum the dust. Then we check if primer is needed. New drywall or fresh patches always get primed. Significant color changes get primed. Water stains get a shellac-based primer. On a standard repaint with no major repairs, we may go straight to the finish coat with a quality paint that has good coverage.
Cutting In Before Rolling — Always
Cut in first, roll second. This is non-negotiable. Cutting in means using an angled brush to paint a 2-3 inch strip around all the edges — along the ceiling, in the corners, around windows, along the baseboard. You do this before rolling because the roller can't get into corners and tight spots.
The reason order matters: if you roll the wall first and then try to cut in the ceiling line, you're cutting over dry wall paint, and the brush marks show. When you cut in first and roll into the wet cut-in edge right after, everything blends. The ceiling line ends up clean because the roller feathers right into the brush edge before it dries.
Take your time on the ceiling line especially. That edge at the top of the wall is the first thing people see when they walk into a room. A wavy line up there, or paint on the ceiling, is immediately noticeable. An angled Purdy brush and a slow, steady hand will get you a clean line.
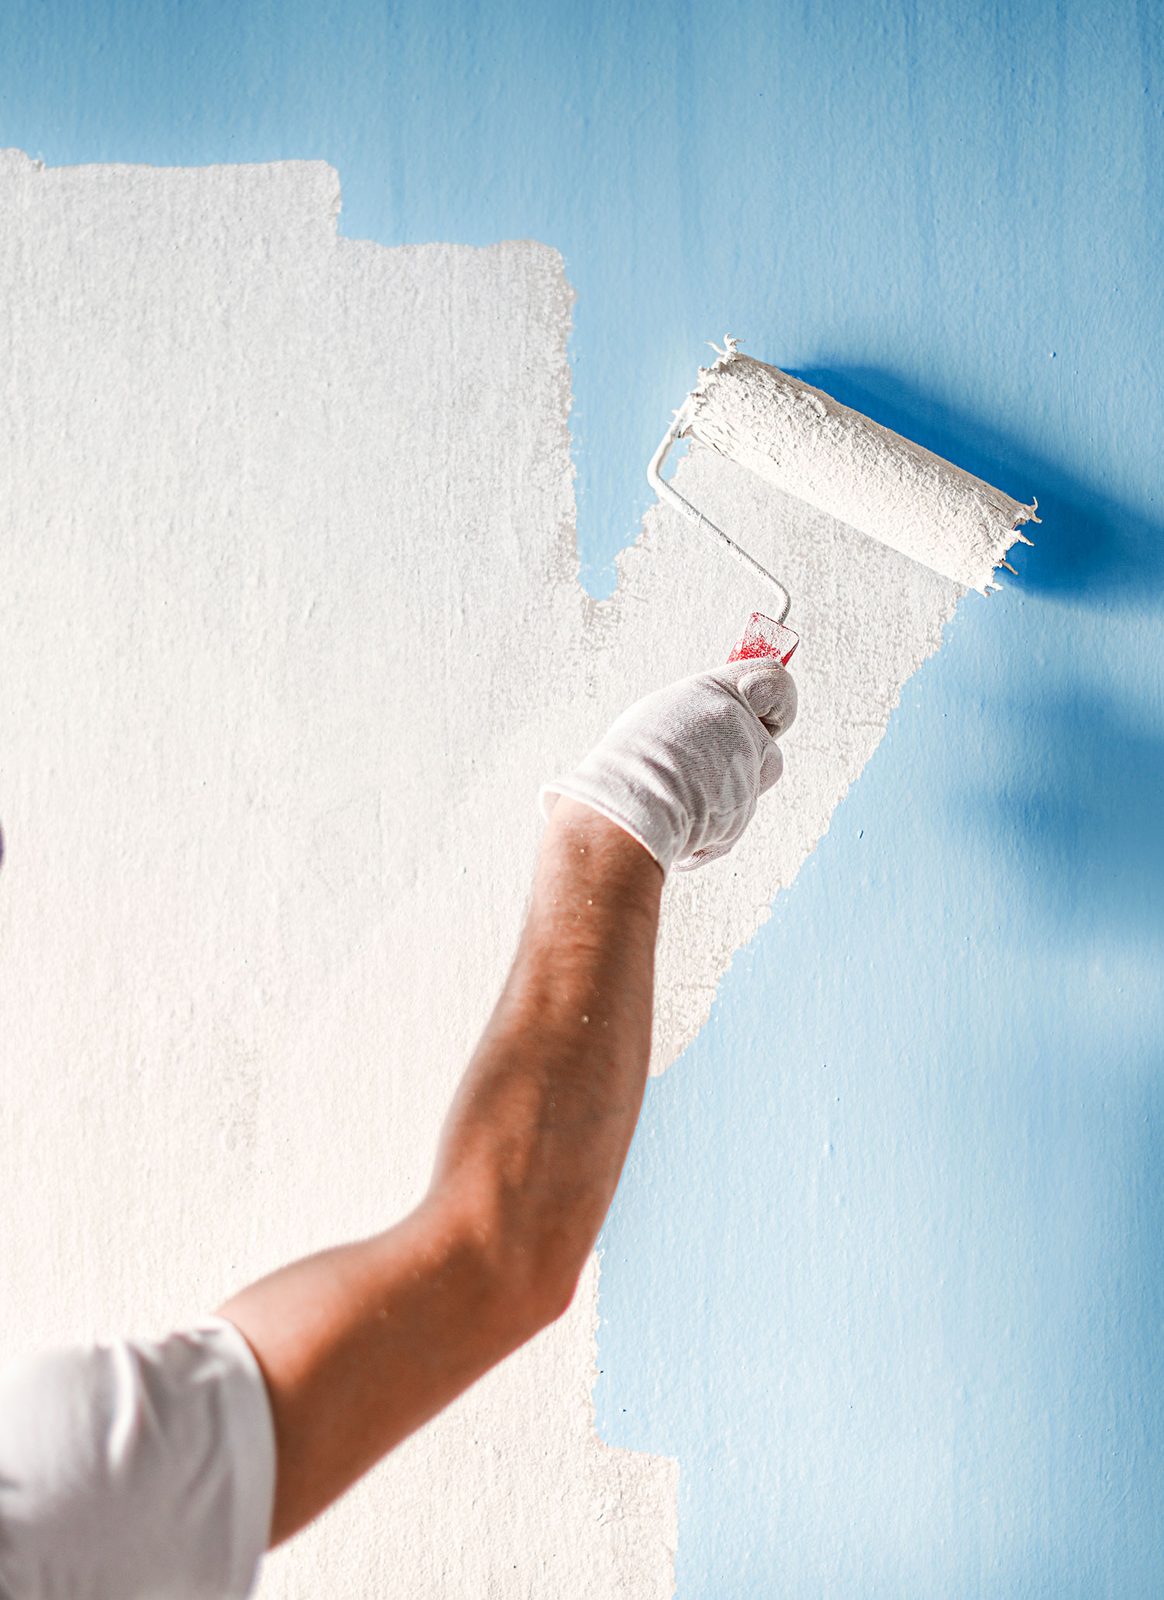
Rolling: The W-Pattern and Maintaining a Wet Edge
Load the roller evenly — don't over-saturate it. Start with a W or M pattern on the wall to distribute the paint across a 3-4 foot section, then fill in with vertical strokes to smooth it out. This pattern prevents the heavy lines you get when you just go straight up and down from the start.
Keep a wet edge. That means working in sections and always rolling back into the wet portion before it starts to dry. If you let part of the wall dry and then roll over it again, you get lap marks — those light or dark horizontal bands across the wall. They're almost impossible to fix without repainting the whole wall. The solution is to never stop mid-wall and let it sit.
Two coats minimum. Let the first coat dry completely — usually 2 to 4 hours depending on paint and humidity. In Houston in the summer, the humidity slows drying time. Don't rush to the second coat. A second coat applied over a still-tacky first coat pulls and drags and ruins the finish.
After the second coat is dry, do a final check in raking light — a lamp held close to the wall at an angle shows every imperfection. If something's off, touch it up before you call the room done. That's the whole job.
Ready to Get a Quote?
We serve League City, Houston, Friendswood, Pearland, Kemah, and the surrounding area. Call or book online.